Contouring has taken the beauty world by storm, transforming the way we define and enhance our natural features. From the subtle art of creating shadows to the bold strokes that sculpt the face, mastering this technique can elevate your makeup game to professional heights. But where do you start? Whether you’re a makeup novice or a seasoned enthusiast looking to refine your skills, our guide on “” is here to illuminate your path. Join us as we delve into the secrets of the trade, revealing the expert tips and tricks that will have you contouring with confidence and finesse.
Mastering the Basics: Tools and Products for Flawless Contouring
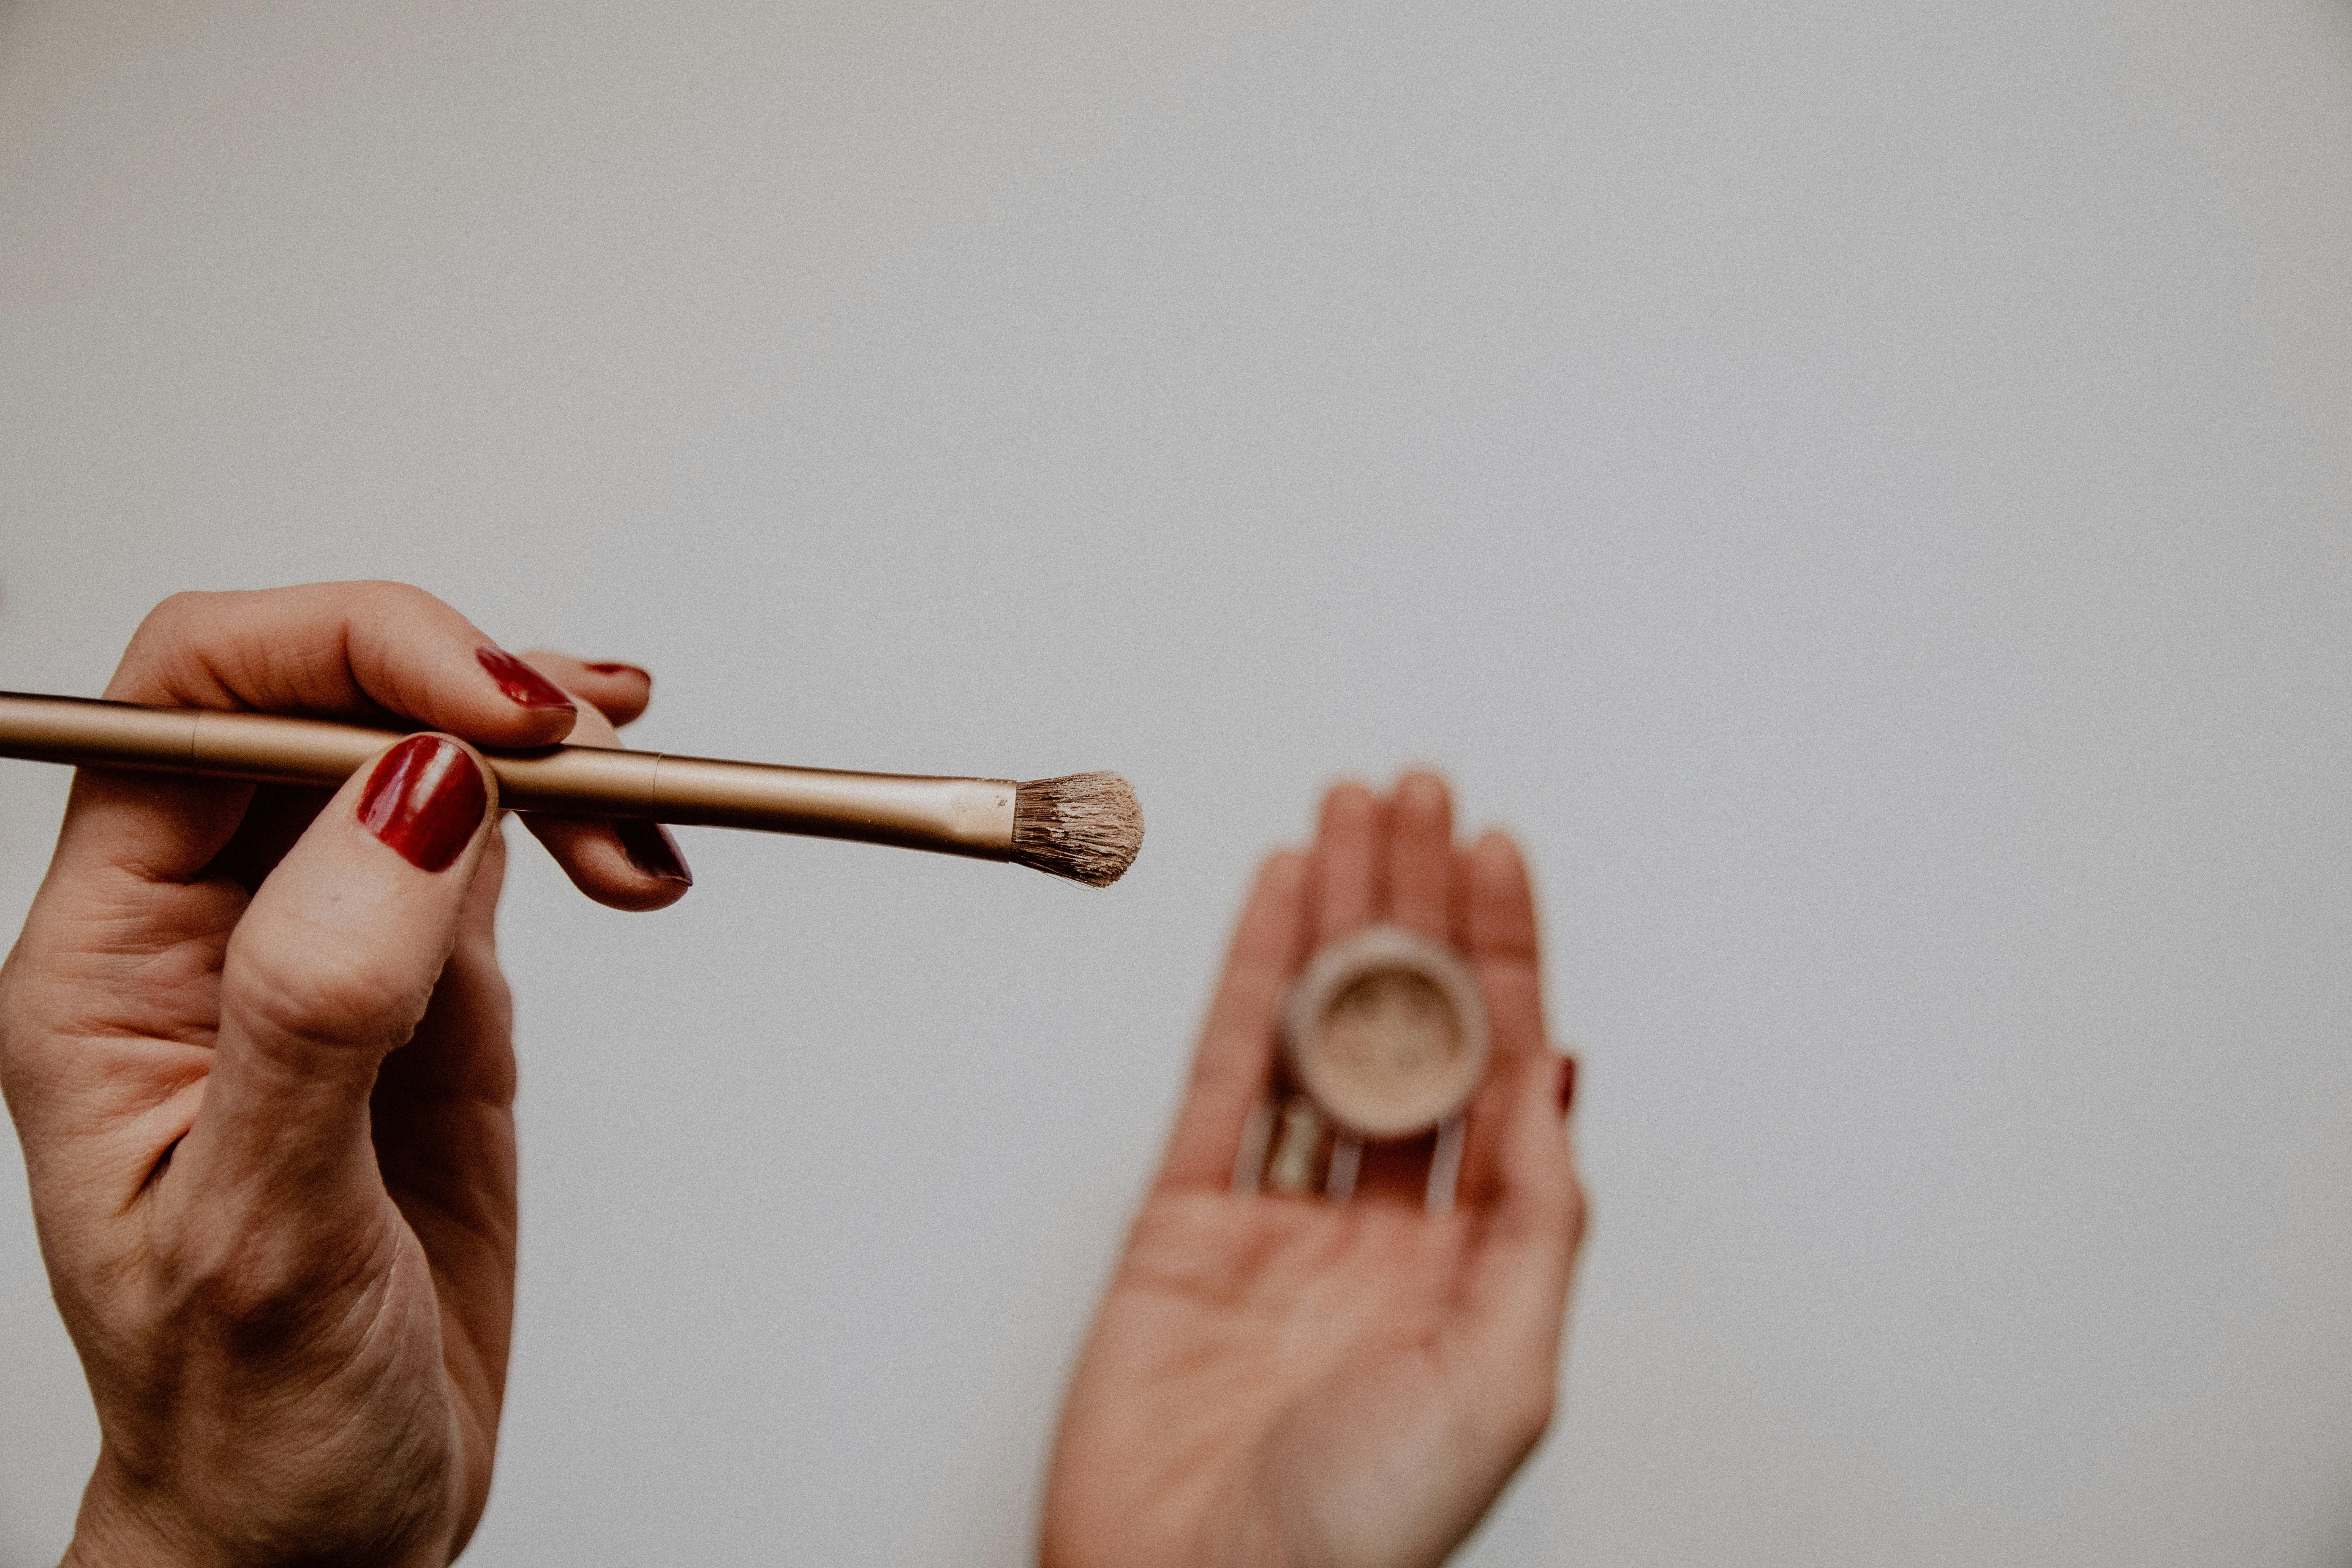
To achieve that seamless, sculpted look, having the right tools and products is essential. Start with a good contour palette that includes a variety of shades to suit your skin tone. Cream-based palettes are great for a dewy finish, while powder palettes work wonders for a matte look. Don’t forget a quality blending brush; a dense, angled brush can help you apply product precisely and blend it out smoothly. If you prefer a more hands-on approach, a beauty sponge can also do the trick.
In addition to the basics, consider adding the following items to your contouring toolkit:
- Highlighting powders or creams to accentuate the high points of your face.
- Setting spray to lock in your contour and keep it looking fresh all day.
- Contour sticks for quick and easy application, perfect for on-the-go touch-ups.
- Blending sponges for a flawless finish without any harsh lines.
With these tools and products at your disposal, mastering the art of contouring becomes not just achievable but also enjoyable.
Understanding Face Shapes: Tailoring Techniques for Every Type
Mastering the art of contouring starts with recognizing your unique face shape. Each type—whether it’s oval, round, square, heart, or diamond—has its own set of techniques to enhance your natural beauty. Here’s how to tailor your contouring approach:
- Oval Faces: This shape is considered the ideal canvas for contouring. Focus on highlighting the center of your forehead, the tops of your cheekbones, and the bridge of your nose. Lightly contour under the cheekbones and along the jawline for added definition.
- Round Faces: To create the illusion of length, apply contour along the temples and the sides of your face. Highlight the center of your forehead, the tops of your cheekbones, and your chin. Avoid heavy contouring on the cheeks to maintain a balanced look.
- Square Faces: Soften strong angles by contouring the sides of your forehead and jawline. Highlight the center of your forehead, the tops of your cheekbones, and the center of your chin to draw attention to the center of your face.
- Heart Faces: Balance a wider forehead with a narrower chin by contouring the sides of your forehead and the bottom of your chin. Highlight the center of your forehead, the tops of your cheekbones, and the bridge of your nose to bring harmony to your features.
- Diamond Faces: Minimize the width of your cheeks by contouring the sides of your face. Highlight your forehead, the tops of your cheekbones, and your chin to draw attention to the center of your face.
Highlighting and Shading: Creating Dimension with Precision
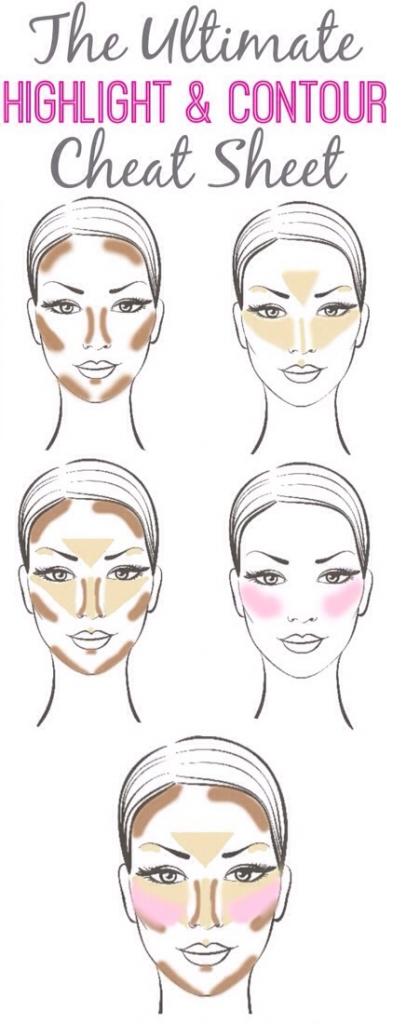
Mastering the art of contouring involves a delicate balance between highlighting and shading, each playing a crucial role in sculpting your features. Start by using a highlighter to accentuate the high points of your face, such as:
- The tops of your cheekbones
- The bridge of your nose
- The center of your forehead
- Your cupid’s bow
Opt for a shade that is one to two tones lighter than your natural skin color to ensure a natural glow.
Next, shading comes into play to create shadows and depth. Focus on areas like:
- The hollows of your cheeks
- Along your jawline
- The sides of your nose
- Around your hairline
Choose a contour shade that is one to two tones darker than your skin tone for a seamless blend. Remember, blending is key—use a damp beauty sponge or a contour brush to meld the shades together for a flawless finish.
Blending Perfection: Achieving a Seamless, Natural Look

To master the art of contouring, it’s crucial to blend your products impeccably to create a flawless, natural appearance. Here are some expert tips to help you achieve that seamless look:
- Choose the right tools: Opt for a high-quality blending brush or a damp beauty sponge to soften harsh lines and edges.
- Work in layers: Apply your contour products in thin layers, building up the intensity gradually. This approach allows for more control and prevents over-application.
- Use circular motions: Blend using small, circular motions to evenly distribute the product and avoid streaks.
- Highlight strategically: Apply highlighter to the high points of your face, such as the cheekbones and brow bones, to enhance the natural contours and add dimension.
- Set with powder: Finish with a translucent setting powder to lock in your look and ensure longevity.