
Achieving the perfect winged eyeliner can feel like a daunting task, but with the right approach, it transforms into an art form that’s both elegant and attainable. This guide will take you through a series of simple steps, demystifying the process and empowering you to master this iconic look. Whether you’re a makeup novice or a seasoned pro, discover how a steady hand and a few clever techniques can elevate your beauty routine, adding that perfect flick of confidence to your everyday style.
Mastering the Basics of Winged Eyeliner
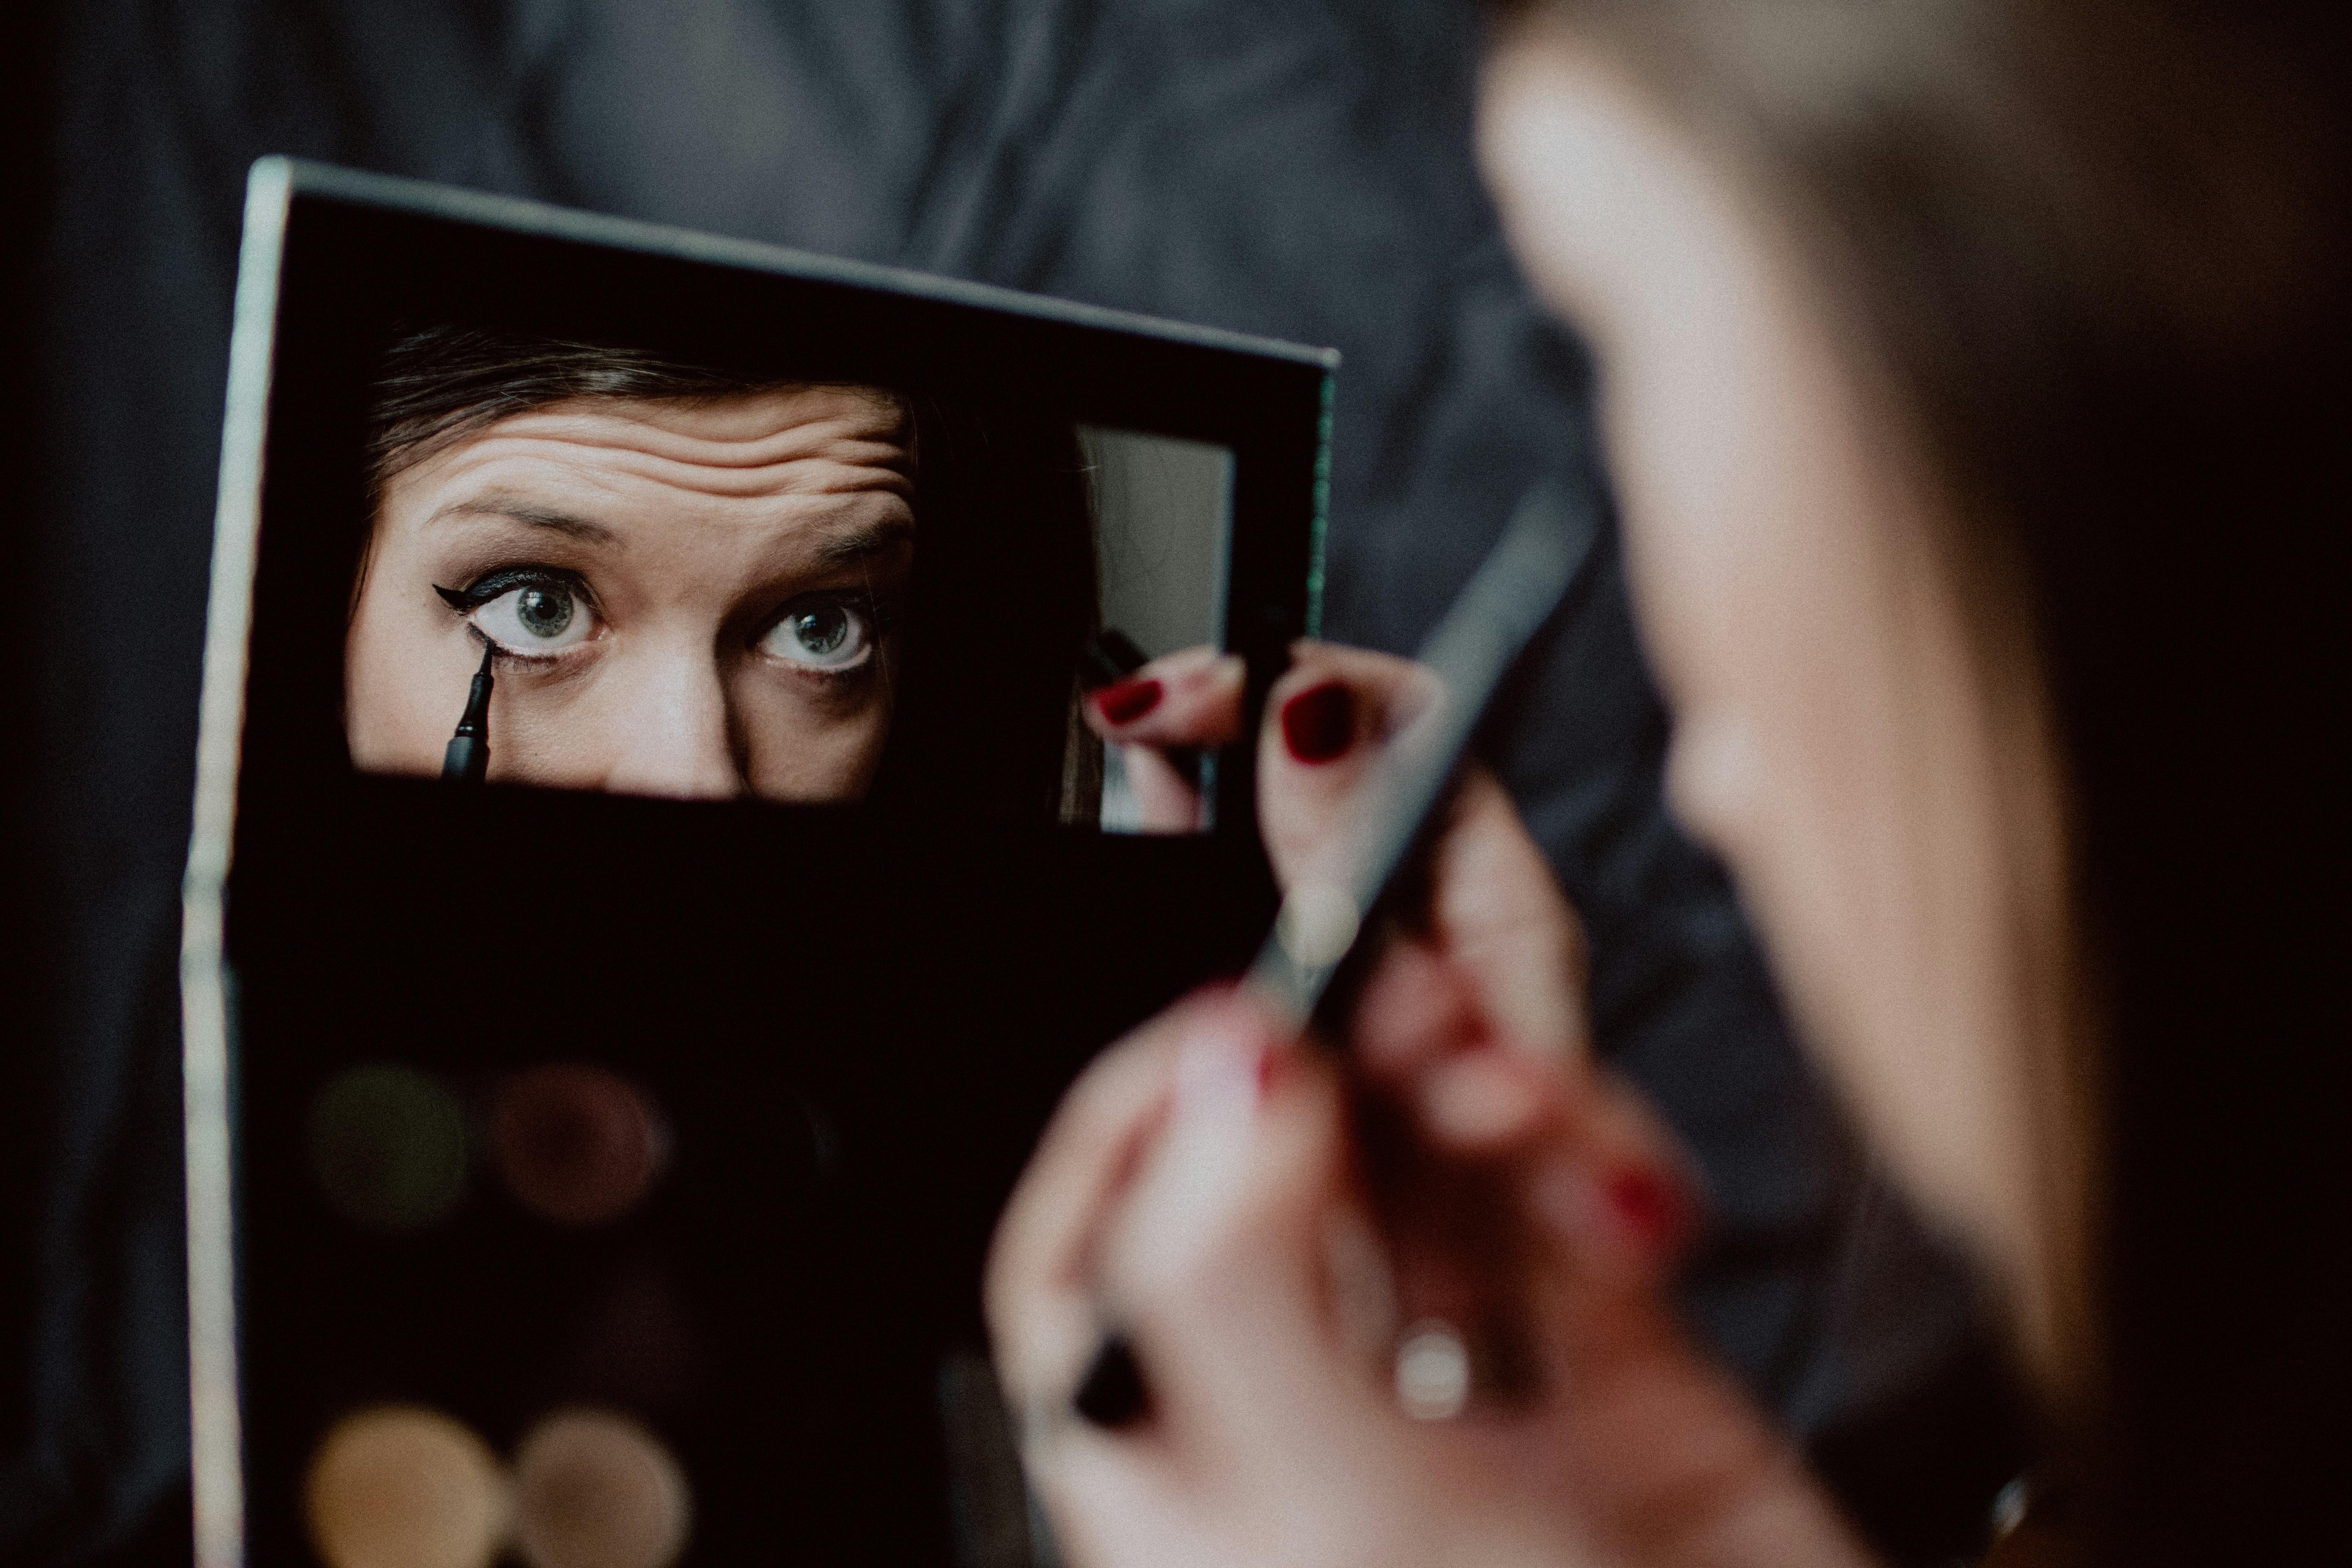
Achieving the ideal winged eyeliner starts with a few essential steps that lay the foundation for a flawless finish. Begin by selecting a high-quality eyeliner—whether liquid, gel, or pen, the choice should suit your comfort level. Prime your eyelids to ensure the liner stays put and doesn’t smudge throughout the day. A steady hand is crucial, so rest your elbow on a stable surface for support.
- Mapping the Wing: Use a light pencil to sketch the desired angle of your wing, aligning it with the outer corner of your eye and the end of your eyebrow for a natural lift.
- Creating the Base: Start from the inner corner of your eye and draw a thin line along your lash line, gradually thickening as you move outward.
- Connecting the Dots: Draw the wing tip towards the center of your eyelid and fill in any gaps for a smooth, continuous line.
Practice makes perfect, so don’t be discouraged by initial attempts. Adjust the angle and thickness to complement your eye shape, and soon, you’ll master this classic beauty staple.
Choosing the Right Tools for Precision
Achieving the perfect winged eyeliner begins with selecting the ideal tools. Precision is key, and your choice of applicator can make all the difference. Consider using a fine-tipped liquid liner for sharp, clean lines, or opt for a gel liner with an angled brush for more control and flexibility. Here are some tools to consider:
- Liquid Eyeliner Pen: Great for beginners, it offers a steady grip and a precise tip.
- Gel Liner with Brush: Perfect for those who prefer a softer finish, allowing for more smudging and blending.
- Felt-Tip Eyeliner: Combines the precision of a pen with the ease of a pencil, ideal for quick applications.
Investing in high-quality products ensures smooth application and long-lasting wear. Experiment with different tools to discover which one complements your technique and hand steadiness best.
Step-by-Step Guide to Flawless Application
Achieving the ideal winged eyeliner can seem daunting, but with a few strategic steps, you can master this classic look. Start by ensuring your eyelids are prepped with a good primer to create a smooth canvas. Choose a liquid or gel liner with a fine tip for precision.
- Begin with the wing: Draw a thin line from the outer corner of your eye, angling it towards the end of your eyebrow. This initial line sets the foundation for your wing.
- Connect to the lash line: From the tip of your wing, glide the liner back towards the center of your upper lash line, creating a triangle shape.
- Fill it in: Carefully fill in the triangle and refine any uneven edges for a crisp finish.
- Perfect the line: Complete the look by lining the rest of your lash line, ensuring a smooth transition from the wing.
Remember, practice makes perfect. Use a cotton swab dipped in makeup remover to clean up any mistakes, and soon, you’ll have the flawless winged eyeliner you’ve always wanted.
Common Mistakes and How to Avoid Them
- Skipping Primer: A smooth base is crucial for achieving a flawless wing. Avoid skipping primer, as it helps the eyeliner glide on more smoothly and stay put longer.
- Uneven Wings: Uneven wings can be frustrating. To prevent this, use a small piece of tape or a card as a guide. This ensures symmetry and clean edges.
- Using a Dry Liner: A dry or old liner can lead to patchy application. Make sure your eyeliner is fresh and well-pigmented. If it’s drying out, try warming it up slightly by running it under warm water.
- Not Considering Eye Shape: One-size-fits-all doesn’t apply to winged eyeliner. Tailor your wing to complement your eye shape. For example, those with hooded eyes might benefit from a thinner line to prevent smudging.
To avoid these pitfalls, practice is key. Experiment with different techniques and tools, such as gel, liquid, or pen liners, to discover what works best for you. Remember, the perfect wing is just a few tweaks away!

