


Unlocking the allure of a perfectly executed smokey eye can feel like an elusive art, especially for beginners. Yet, with the right guidance, this captivating look is well within reach. Welcome to our step-by-step tutorial, where mystery meets mastery, and every brushstroke builds confidence. Whether you’re preparing for a night out or simply experimenting with your style, this guide will illuminate each phase of the process, transforming the seemingly complex into a canvas of creativity. Let’s embark on this journey to create eyes that speak volumes.
Creating the Perfect Base: Priming and Prepping Your Canvas
Before diving into the sultry world of smokey eyes, it’s crucial to lay a flawless foundation for your artistry. Think of your eyelids as a canvas that requires careful preparation to ensure your masterpiece not only looks stunning but also lasts through the day or night.
Start by applying a lightweight primer to your lids. This step is essential for smoothing out any imperfections and creating a tacky base for your eyeshadow to adhere to. If you have oily lids, opt for a mattifying primer to keep everything in place. Once primed, gently dust a translucent setting powder over your lids to lock in the primer and ensure seamless blending. Here’s a quick checklist to follow:
- Choose the right primer for your skin type.
- Apply evenly across the eyelid.
- Set with a translucent powder for longevity.
With your canvas perfectly prepped, you’re now ready to explore the captivating depths of the smokey eye. This meticulous groundwork guarantees that your eyeshadow will glide on effortlessly and stay vibrant throughout your day.
Choosing the Right Shades: Eyeshadow Essentials for Beginners
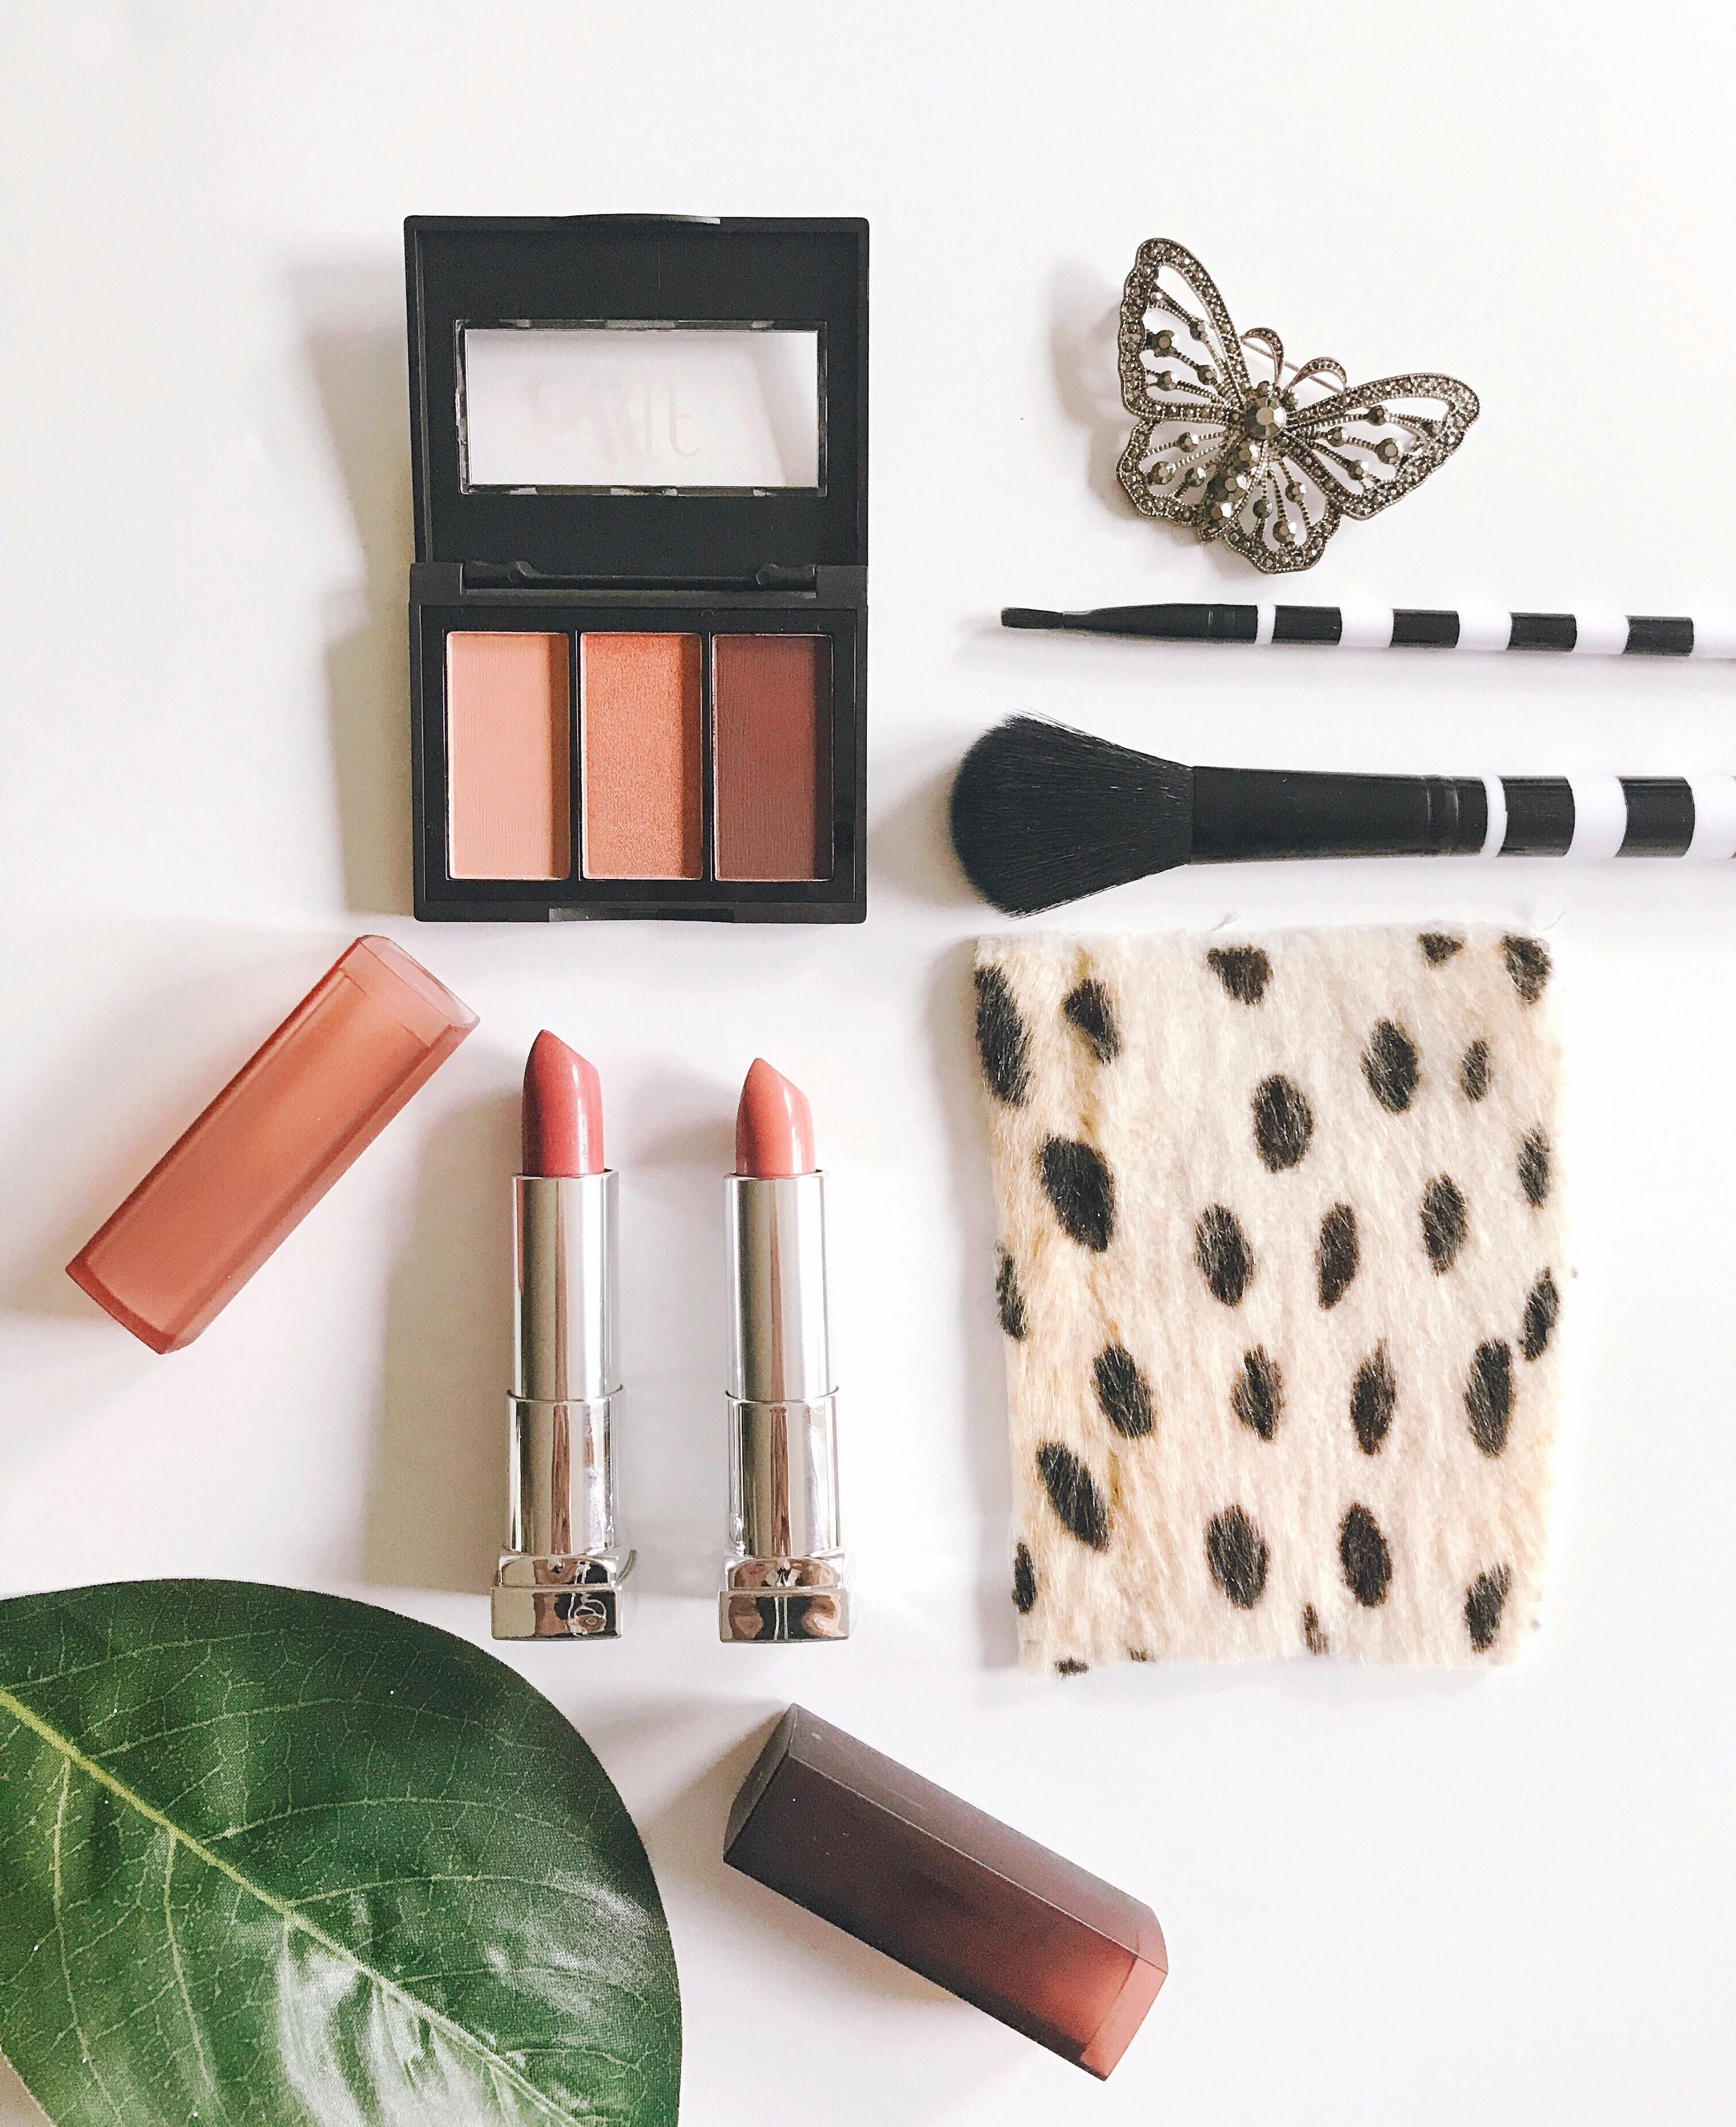
When diving into the world of eyeshadows, selecting the perfect shades is crucial for crafting a flawless smokey eye. Neutral tones like taupe, beige, and soft browns serve as a versatile base, making them ideal for beginners. These shades blend seamlessly, providing a subtle gradient and a smooth transition between colors. For the smoky effect, incorporating darker hues such as charcoal, deep brown, or classic black adds depth and drama to your look. Remember, the key is to balance the intensity with lighter shades to prevent the eyes from appearing too heavy.
- Highlight Shades: Use shimmering champagne or ivory on the brow bone and inner corners for a brightening effect.
- Mid-Tones: Opt for warm browns or muted mauves for the crease, enhancing dimension.
- Dark Accents: Deep grays or blacks are perfect for the outer corners and lash lines, creating the iconic smokey allure.
Experimenting with these shades not only helps in achieving the classic smokey eye but also allows you to discover combinations that suit your eye color and skin tone. Embrace the journey of finding your signature look!
Mastering the Blend: Techniques for a Seamless Transition
Achieving that perfect smokey eye look is all about how you blend. Start by selecting three complementary shades: a light base, a medium transition color, and a dark defining shade. With a fluffy blending brush, apply the lightest shade across your eyelid to create a smooth canvas. This step is crucial as it sets the stage for seamless color transitions.
To ensure a flawless gradient, use a soft, circular motion to blend the medium shade into your crease. This technique softens any harsh lines and creates depth. For the darkest shade, focus on the outer corner of your eye. Key tips for mastering the blend include:
- Using clean brushes to prevent muddiness.
- Building color gradually for control.
- Layering with a gentle hand for a polished finish.
Remember, patience is your best tool—keep blending until each hue melts effortlessly into the next.
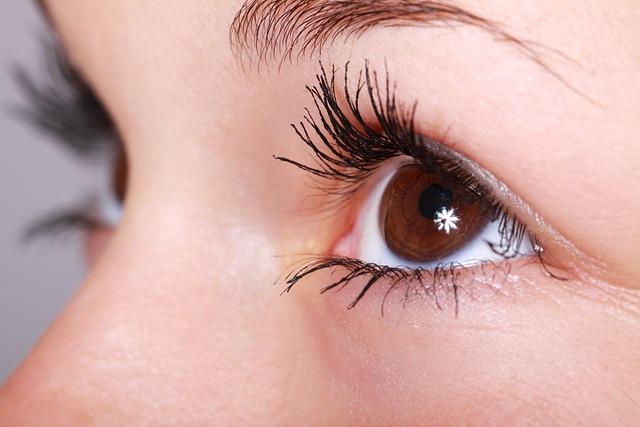
Finishing Touches: Liner and Mascara Tips for a Flawless Look
To elevate your smokey eye to perfection, pay attention to the details with your liner and mascara. Start by choosing a creamy eyeliner in black or dark brown. Glide it along your upper lash line, making the line thicker towards the outer corner for a subtle lift. For added drama, gently smudge the liner with a smudge brush or your fingertip to blend seamlessly into the shadow.
- Waterline: Use a waterproof pencil to line your waterline, intensifying the smokey effect.
- Wing It: Extend a small wing at the outer corners for a more defined look.
Now, focus on your lashes. Curl them with a high-quality eyelash curler for an eye-opening effect. Apply a coat of volumizing mascara, starting at the base of your lashes and wiggling upwards to ensure even coverage. For a bolder look, layer another coat, concentrating on the outer lashes to enhance the smokey allure.
- Lower Lashes: Apply a light coat of mascara to the lower lashes for balance.
- Separation: Use a clean spoolie brush to separate any clumps for a flawless finish.


