


In the world of beauty, eyes have long been the ultimate canvas for creativity and expression. Whether you’re preparing for a night out or simply elevating your everyday look, mastering the art of applying false lashes can transform your gaze from ordinary to extraordinary. This guide will walk you through the steps to achieve professional-level results, unveiling the secrets to dramatic, captivating eyes. With precision and a touch of flair, you’ll soon wield the power of false lashes like a seasoned pro, ready to make every glance unforgettable.
Choosing the Right Lash Style for Your Eye Shape
Finding the perfect false lashes to enhance your eye shape can transform your look from ordinary to extraordinary. Whether you have almond, round, hooded, or eyeliner-for-beginners/” title=”How to achieve a perfect winged eyeliner for beginners”>monolid eyes, there’s a lash style that will complement your natural beauty.
- Almond Eyes: Almost any lash style will work, but winged or cat-eye lashes accentuate the natural lift of almond eyes, creating a sultry effect.
- Round Eyes: Opt for wispy lashes with a longer length at the center to open up the eyes and give them a more elongated appearance.
- Hooded Eyes: Choose dramatic lashes with a shorter band to prevent overwhelming your lids, focusing on volume to enhance the visible eye area.
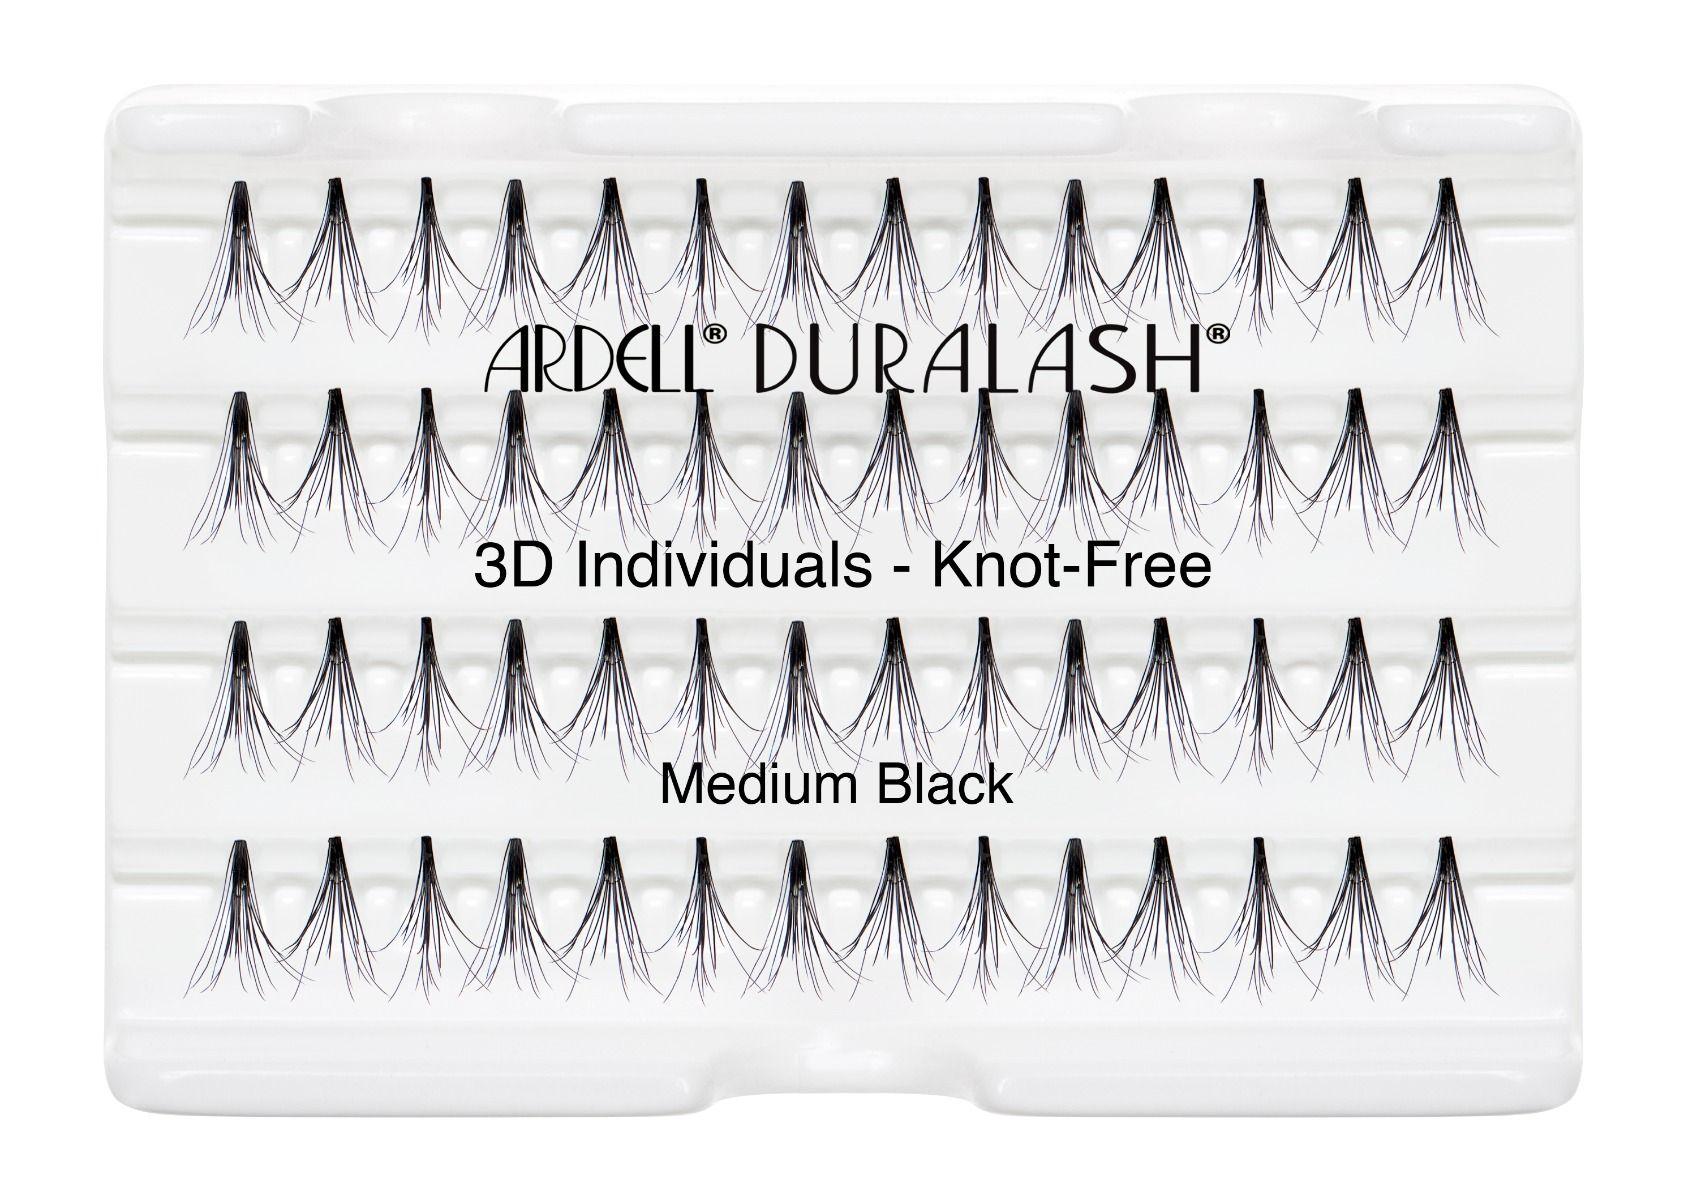
- Monolid Eyes: Go for multi-layered lashes that add dimension, ensuring the length is evenly distributed for a fuller look.
By selecting the right lash style, you can highlight your eye shape and create a stunning, dramatic effect that’s sure to turn heads.
Mastering the Art of Lash Adhesive Application
Achieving a flawless lash look begins with the skillful application of lash adhesive. Precision and patience are your best allies in this endeavor. Begin by selecting a high-quality adhesive that complements your lash type. Opt for clear or dark formulas depending on your desired finish. Using a small brush or the applicator tip, apply a thin line of glue along the lash band, ensuring even distribution.
- Wait for tackiness: Allow the adhesive to sit for about 30 seconds. This crucial step ensures the glue is tacky, not wet, making it easier to adjust and secure the lashes.
- Placement is key: With the help of tweezers, gently place the lash strip as close to your natural lash line as possible. Start from the center, then adjust the corners for a seamless fit.
- Secure and blend: Press the false lashes into your natural ones using your fingers or a lash applicator. Finish by gently blending with mascara or eyeliner to merge the false lashes with your own.
Mastering this technique transforms your eye look, giving you the confidence to flaunt dramatic, captivating eyes with ease.
Step-by-Step Guide to Seamless Lash Placement

Achieving perfectly placed false lashes can transform your look from simple to stunning. Start by gently curling your natural lashes and applying a coat of mascara. This provides a sturdy base for the falsies. Measure the lash strip against your eyelid and trim any excess from the outer corner for a perfect fit. Apply a thin layer of lash adhesive along the band and wait for it to become tacky. This step is crucial for a seamless application.
Using a pair of tweezers, position the lash strip as close to your natural lash line as possible, starting from the center and then pressing down the edges. Ensure that the ends are securely attached to prevent lifting. Once placed, use the tweezers to gently press your natural and false lashes together for a more natural blend. For an added touch of drama, finish with a thin line of eyeliner to conceal the lash band and define your eyes.
Pro Tips for Enhancing Longevity and Comfort
- Trim with Precision: Before applying, measure the lash strip against your natural lash line and trim from the outer edge for a custom fit. This ensures comfort and prevents lifting.
- Use Quality Glue: Opt for a high-quality, latex-free adhesive. Apply a thin, even layer and let it become tacky for about 30 seconds. This will make the application smoother and help the lashes stay put longer.
- Shape for Comfort: Gently bend the lash strip into a C-shape to mimic the natural curve of your eyelid. This will enhance comfort and ensure the lashes adhere seamlessly.
- Double Up for Drama: Layer two sets of lashes for a fuller, more dramatic effect. Ensure the base layer is secure before adding the second pair.
- Mind the Corners: Pay extra attention to securing the inner and outer corners. These areas tend to lift first, so pressing them down firmly will enhance longevity.
- Clean and Reuse: After removal, gently clean the lashes with a cotton swab dipped in makeup remover. Store them in their original case to maintain their shape for future use.


