
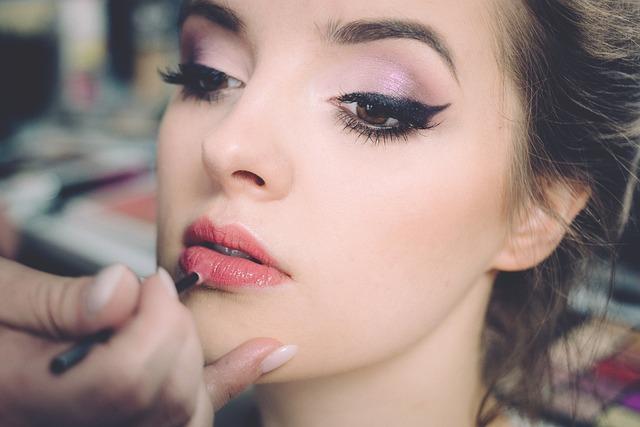
Unlocking the art of the perfect winged eyeliner can feel like a daunting quest for many beginners. It’s a beauty staple that promises to elevate any look with a touch of elegance and flair. Yet, the path to achieving that flawless flick often seems lined with smudges and uneven lines. Fear not, for this guide is here to demystify the process. Whether you’re aiming for a subtle lift or a bold statement, we’ll walk you through the essentials, tips, and tricks to master the winged eyeliner with confidence and precision. Let’s embark on this journey to transform your eyes into captivating canvases.
Mastering the Basics: Tools and Products for Beginners
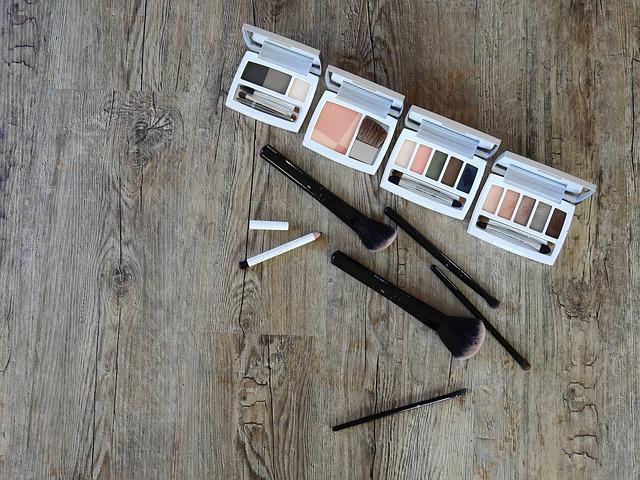
Embarking on the journey to flawless winged eyeliner requires the right tools and products. Start with a quality eyeliner. Beginners often find felt-tip liners easier to control, providing a steady hand for precision. Alternatively, gel liners paired with an angled brush can offer more flexibility and a softer finish.
- Eyeliner Types: Felt-tip, gel, and pencil
- Brushes: Angled brush for gel liners
- Primer: Ensures longevity and prevents smudging
- Concealer: Clean up mistakes and sharpen edges
Invest in a good eyelid primer to ensure your liner stays put throughout the day. A steady hand is crucial, so rest your elbow on a flat surface while applying. Don’t forget to keep some makeup remover and cotton swabs handy to perfect the shape. Practice is key, so experiment with different products to find what suits your style best.
Step-by-Step Guide: Drawing the Perfect Wing
Creating the ideal winged eyeliner look can be a fun and rewarding process. Here’s how you can achieve it step-by-step:
- Prep Your Eyelids: Start by applying a primer to ensure your eyeliner stays put all day. This helps in smoothing the surface for a flawless application.
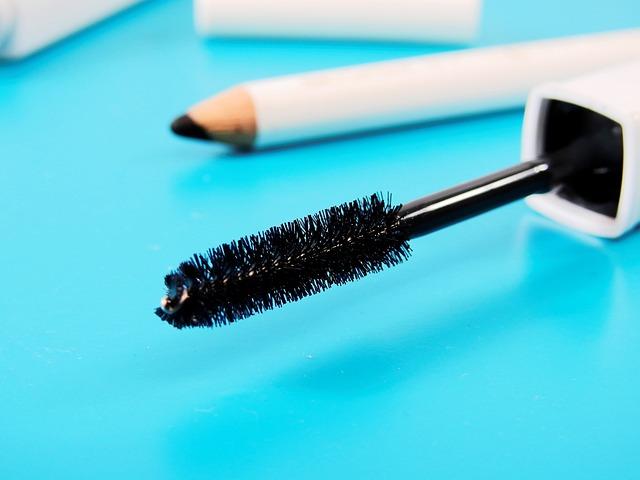
- Choose Your Tool: Whether you prefer a liquid liner, gel pot, or felt-tip pen, pick what you’re most comfortable with. Each has its own unique benefits.
- Start Small: Begin at the outer corner of your eye, drawing a small line angled towards the end of your eyebrow. This will be the tail of your wing.
- Connect the Dots: From the tip of your wing, draw a line back towards your upper lash line, forming a small triangle. Fill in this shape for a solid base.
- Line Your Lid: Carefully draw a line along your upper lash line, connecting it to the wing. Keep the line as close to your lashes as possible for a natural look.
- Perfect and Adjust: Use a cotton swab dipped in makeup remover to clean up any mistakes or sharpen the wing to your desired thickness.
Pro Tip: Practice makes perfect! Don’t be discouraged by initial attempts. With time and patience, your winged eyeliner will become more precise and tailored to your style.
Common Mistakes and How to Avoid Them
- Skipping Primer: Many beginners overlook the importance of prepping their eyelids. Using a primer helps the eyeliner adhere better and prevents smudging. To avoid this mistake, apply a thin layer of primer and let it dry before starting your eyeliner application.
- Uneven Wings: Achieving symmetry can be tricky. A common pitfall is drawing one wing longer or thicker than the other. To combat this, use a small piece of tape as a guide or mark the endpoints lightly with a dot before connecting the lines.
- Using the Wrong Product: Not all eyeliners are created equal. Beginners often struggle with liquid liners. Opt for a gel or pencil liner initially, which offers more control and is forgiving of shaky hands.
- Pulling on the Skin: It might seem helpful to stretch your eyelid for a smooth line, but this can lead to distorted wings. Instead, look straight into the mirror and apply in short, controlled strokes.
By recognizing these common missteps and following these tips, you’ll be well on your way to mastering the perfect winged eyeliner. Practice and patience are key, so keep experimenting with techniques until you find what works best for you.
Personalizing Your Look: Tailoring the Wing to Your Eye Shape
Achieving the perfect winged eyeliner is an art, and the key to mastering it lies in tailoring the wing to complement your unique eye shape. Here are some tips to help you customize your look:
- Almond Eyes: Lucky you! Almond eyes can pull off almost any style. For a classic look, follow the natural curve of your lash line and extend the wing slightly upward.
- Hooded Eyes: Keep the line thin and precise. Start your wing where the lid begins to fold, aiming for a more extended, lifted wing to open up the eyes.
- Round Eyes: To elongate, create a thicker line on the outer corners. Extend the wing horizontally to give a more elongated appearance.
- Monolid Eyes: Opt for a thicker line that gradually tapers into a wing. This adds definition and creates a striking contrast.
- Downturned Eyes: Lift the eyes by drawing the wing upward. Start from the outer corner and flick it towards the end of your brow.
Experiment with these techniques to find the style that enhances your eye shape, giving you a personalized and flawless finish every time.

