
Creating the perfect winged eyeliner can feel like a daunting task, especially for those blessed with hooded eyes. The struggle of achieving that elusive, sharp flick without it disappearing into the crease or smudging throughout the day is all too real. But fear not, beauty enthusiasts! In this guide, we’ll unravel the mysteries of mastering a flawless winged eyeliner tailored specifically for hooded eyes. Whether you’re a makeup novice or a seasoned pro, our step-by-step tips and tricks will help you conquer this challenging yet rewarding art form. So, grab your favorite eyeliner and a steady hand, and let’s embark on this journey to eye-defining perfection.
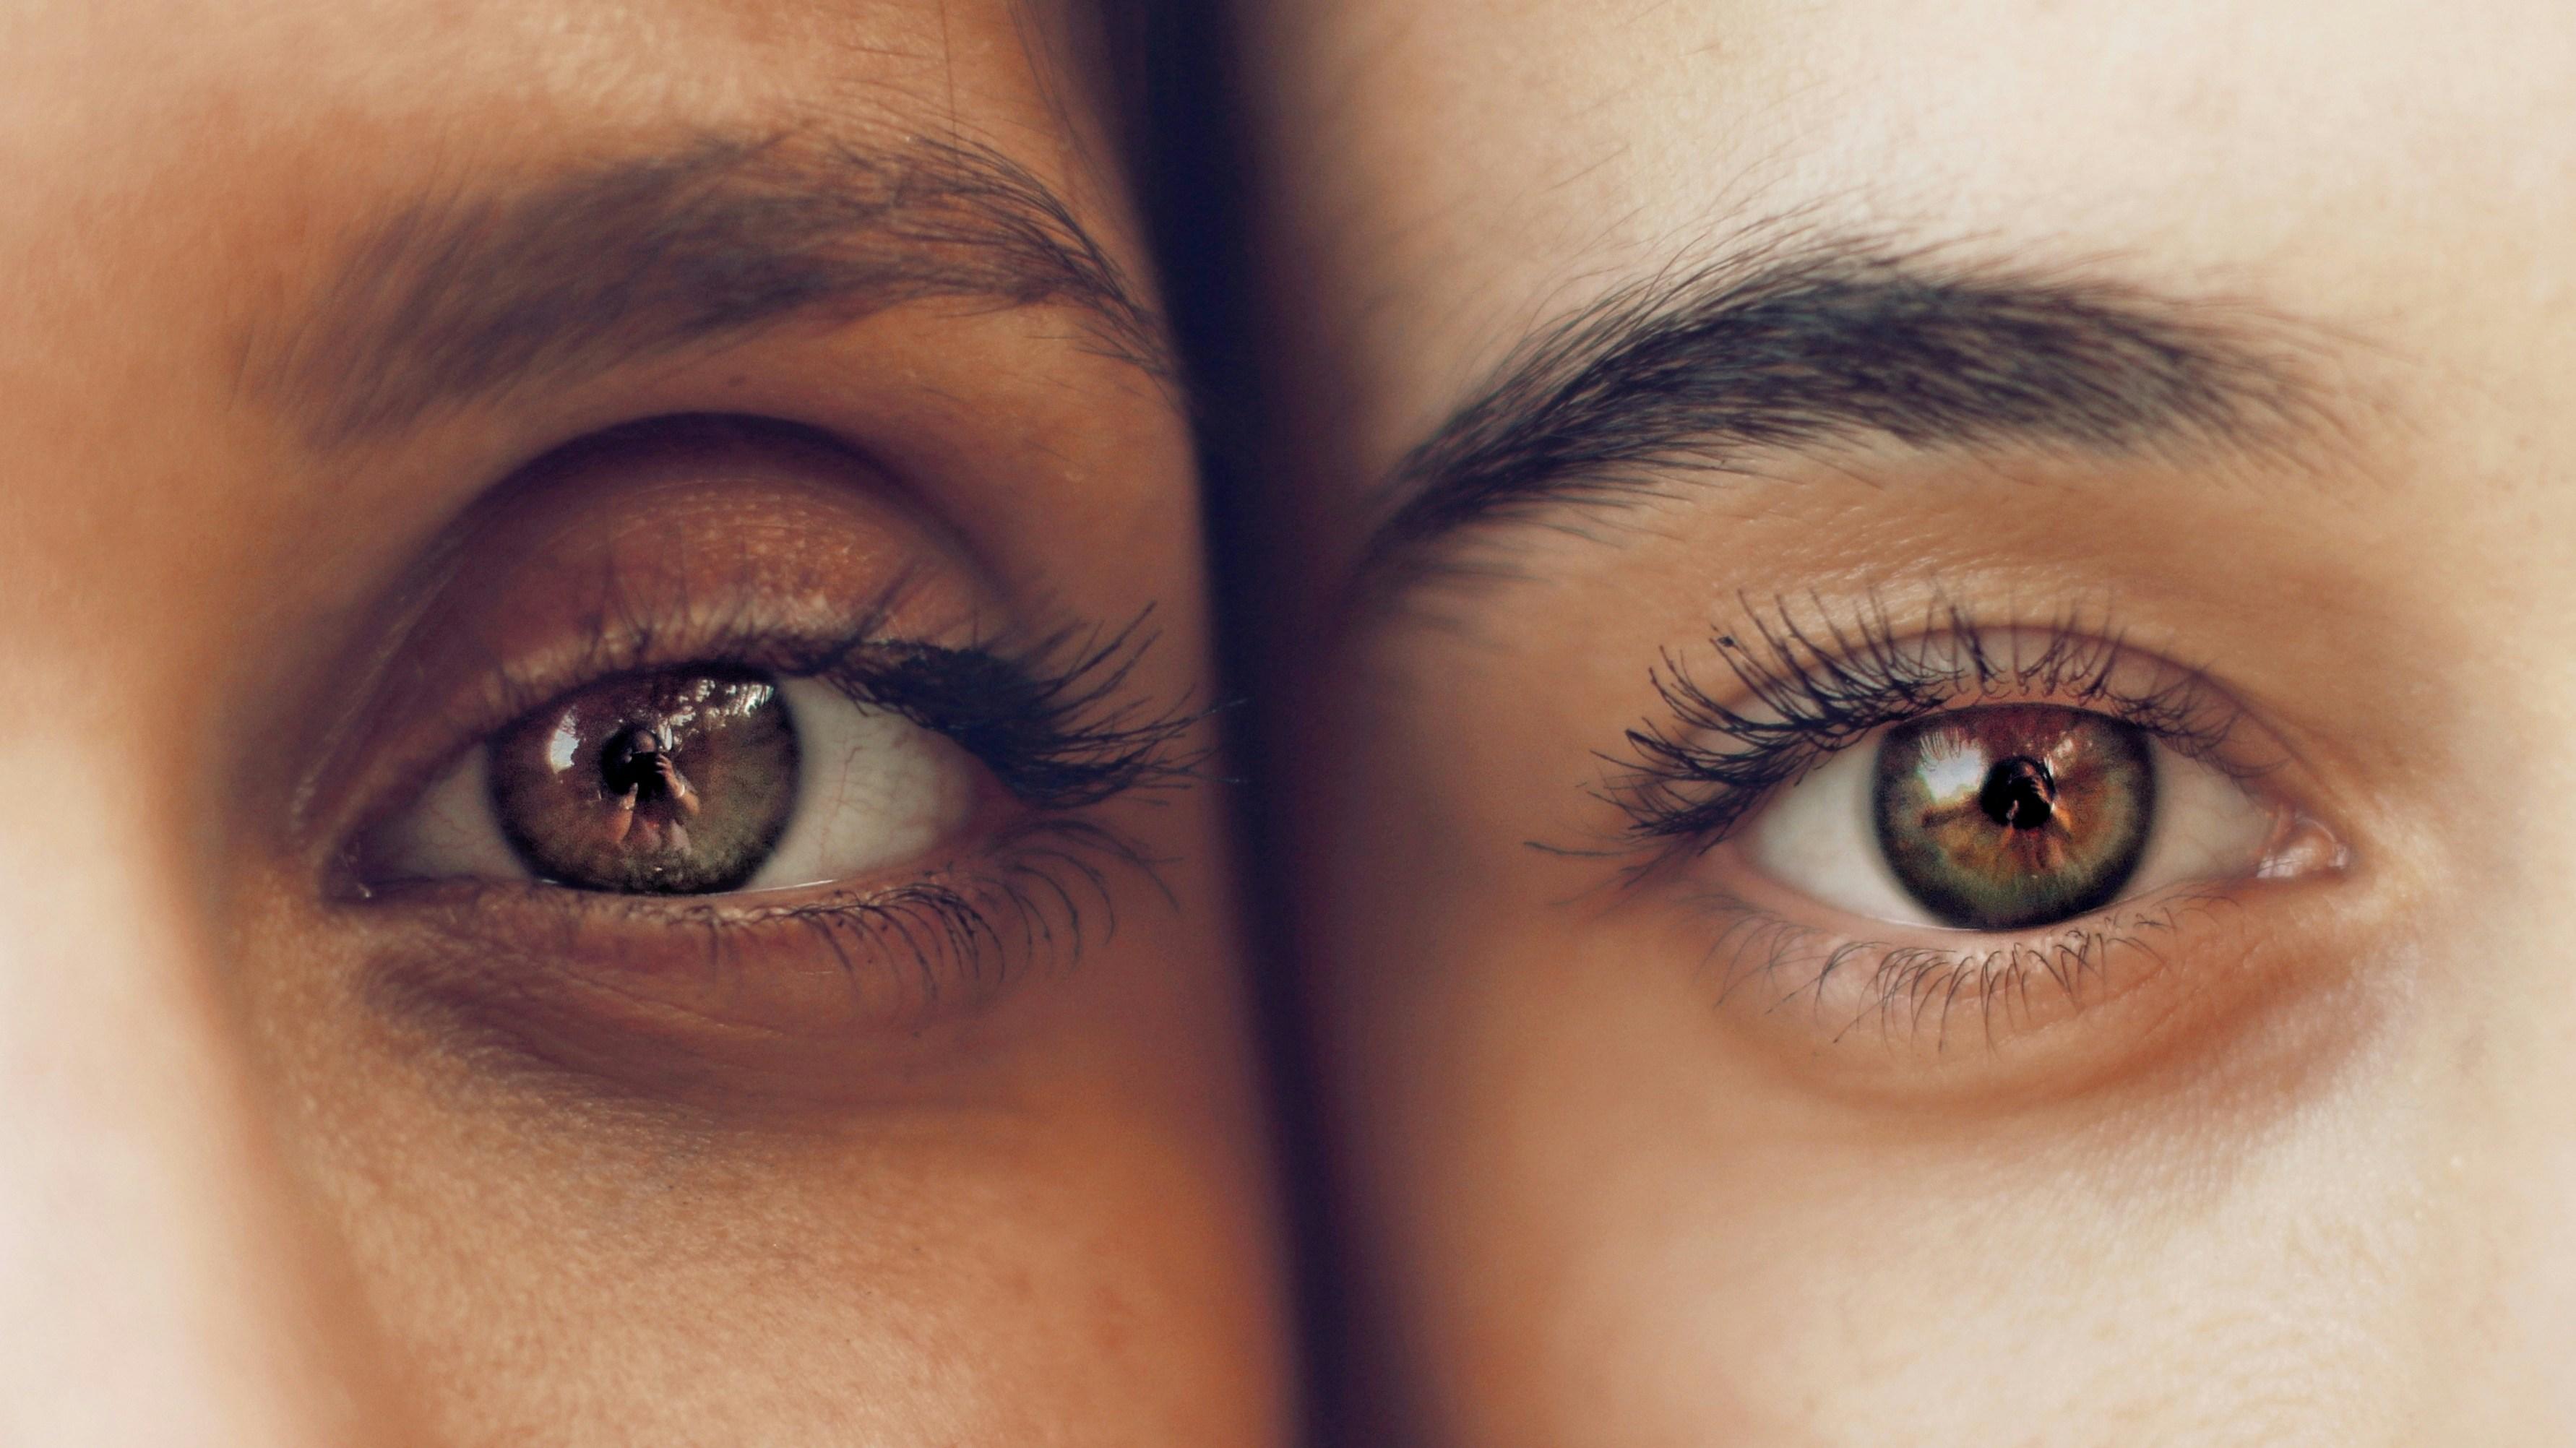
Understanding Hooded Eyes and Their Unique Challenges
Hooded eyes are characterized by an extra layer of skin that droops over the crease, making the lid appear smaller. This unique eye shape can present some challenges when it comes to makeup application, particularly with achieving the perfect winged eyeliner. The key to mastering this look lies in understanding the anatomy of your eyes and adjusting your techniques accordingly.
- Placement is Crucial: Begin by mapping out where your wing should end, ensuring it extends outward and slightly upward. This helps to lift the eyes and counteract the drooping effect.
- Keep It Thin: Start with a thin line along your lash line. Hooded eyes can easily look overwhelmed by thick eyeliner, so gradually build up the intensity if needed.
- Open Your Eyes: Apply your eyeliner with your eyes open, looking straight ahead. This ensures the wing will be visible when your eyes are open and prevents any hidden or smudged lines.
- Use Smudge-Proof Products: Opt for waterproof or long-lasting formulas to prevent transfer onto your upper lid, a common issue with hooded eyes.
Choosing the Right Eyeliner Formula for Precision and Longevity
To master the art of winged eyeliner on hooded eyes, selecting the ideal eyeliner formula is crucial for achieving precision and longevity. Here are a few options to consider:
- Gel Eyeliner: Known for its smooth application and intense pigmentation, gel eyeliner offers excellent control for creating sharp wings. Its creamy consistency allows for easy manipulation, making it a favorite among makeup artists.
- Liquid Eyeliner: This formula is perfect for achieving a crisp, defined line. Opt for a waterproof version to ensure it stays put throughout the day, even on the oiliest lids.
- Pencil Eyeliner: While typically less precise, a high-quality pencil eyeliner can be sharpened to a fine point and smudged for a softer look. Look for long-wearing, smudge-proof formulas to avoid transfer onto your upper lids.
Each of these formulas has its own strengths, so experiment to find which one suits your application style and desired finish best. Remember, the key is to balance precision with staying power to keep your winged eyeliner looking flawless all day.
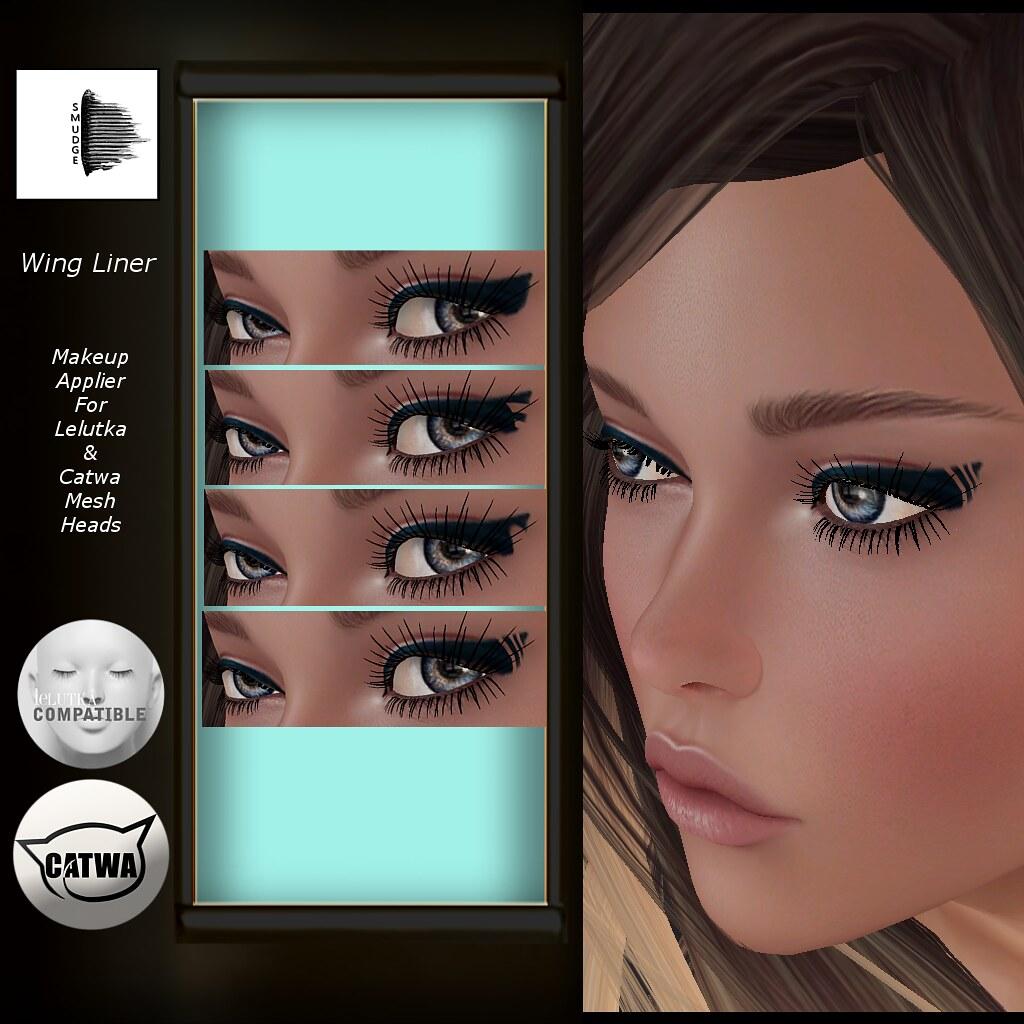
Step-by-Step Guide to Creating the Perfect Wing
When working with hooded eyes, the key is to create an illusion of a lifted, elongated eye. Start by priming your lids with an eyeshadow primer to ensure the eyeliner stays put. Use a fine-tipped liquid eyeliner or a gel liner with an angled brush for precision. Follow these essential steps for a flawless wing:
- Lift your brow gently to reveal more lid space, making it easier to draw the wing.
- Draw a thin line along your upper lash line, starting from the inner corner and working outward.
- Mark the wing by drawing a small dot or dash at the desired angle and length, ensuring it’s visible even when your eyes are open.
- Connect the dot to the outer corner of your lash line, forming a triangular shape.
- Fill in the triangle and smooth out any rough edges for a seamless look.
For added drama, you can gently smudge a dark eyeshadow along the lower lash line. Remember, practice makes perfect, and soon you’ll master the art of winged eyeliner on hooded eyes!

Expert Tips for Ensuring Symmetry and Balance
Achieving the perfect winged eyeliner on hooded eyes can be a challenge, but with a few expert tips, you can master this look effortlessly. To ensure symmetry and balance, start by mapping out your wing with a light, fine line. This initial sketch will serve as a guide and can be easily adjusted before committing to a darker, more permanent line.
- Use a thin, angled brush to create precise lines.
- Keep your eyes open while applying the eyeliner to better visualize how it will look when your eyes are relaxed.
- Match the angle of your wing with the natural slope of your lower lash line for a harmonious look.
- Balance both sides by taking a step back and checking in a mirror frequently.

