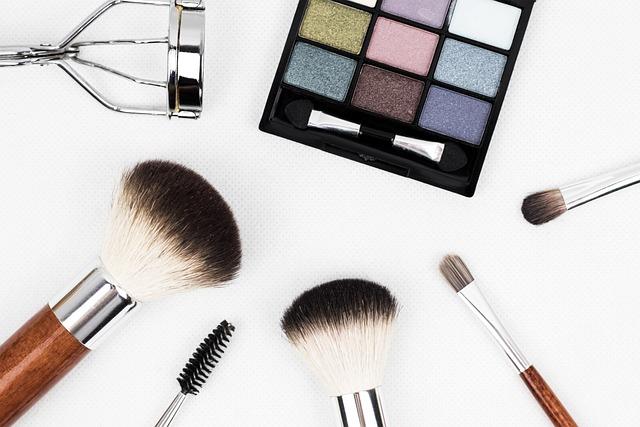
In the ever-evolving world of makeup, the art of contouring and highlighting stands as a transformative technique, offering the illusion of sculpted cheekbones and a radiant complexion. Whether you’re a seasoned beauty enthusiast or a curious novice, mastering these techniques can elevate your makeup game to new heights. This guide will walk you through the essentials of contouring and highlighting, demystifying the process and providing you with the tools to enhance your natural features effortlessly. Get ready to illuminate your beauty routine with precision and creativity.
Mastering the Art of Contouring: Tools and Techniques
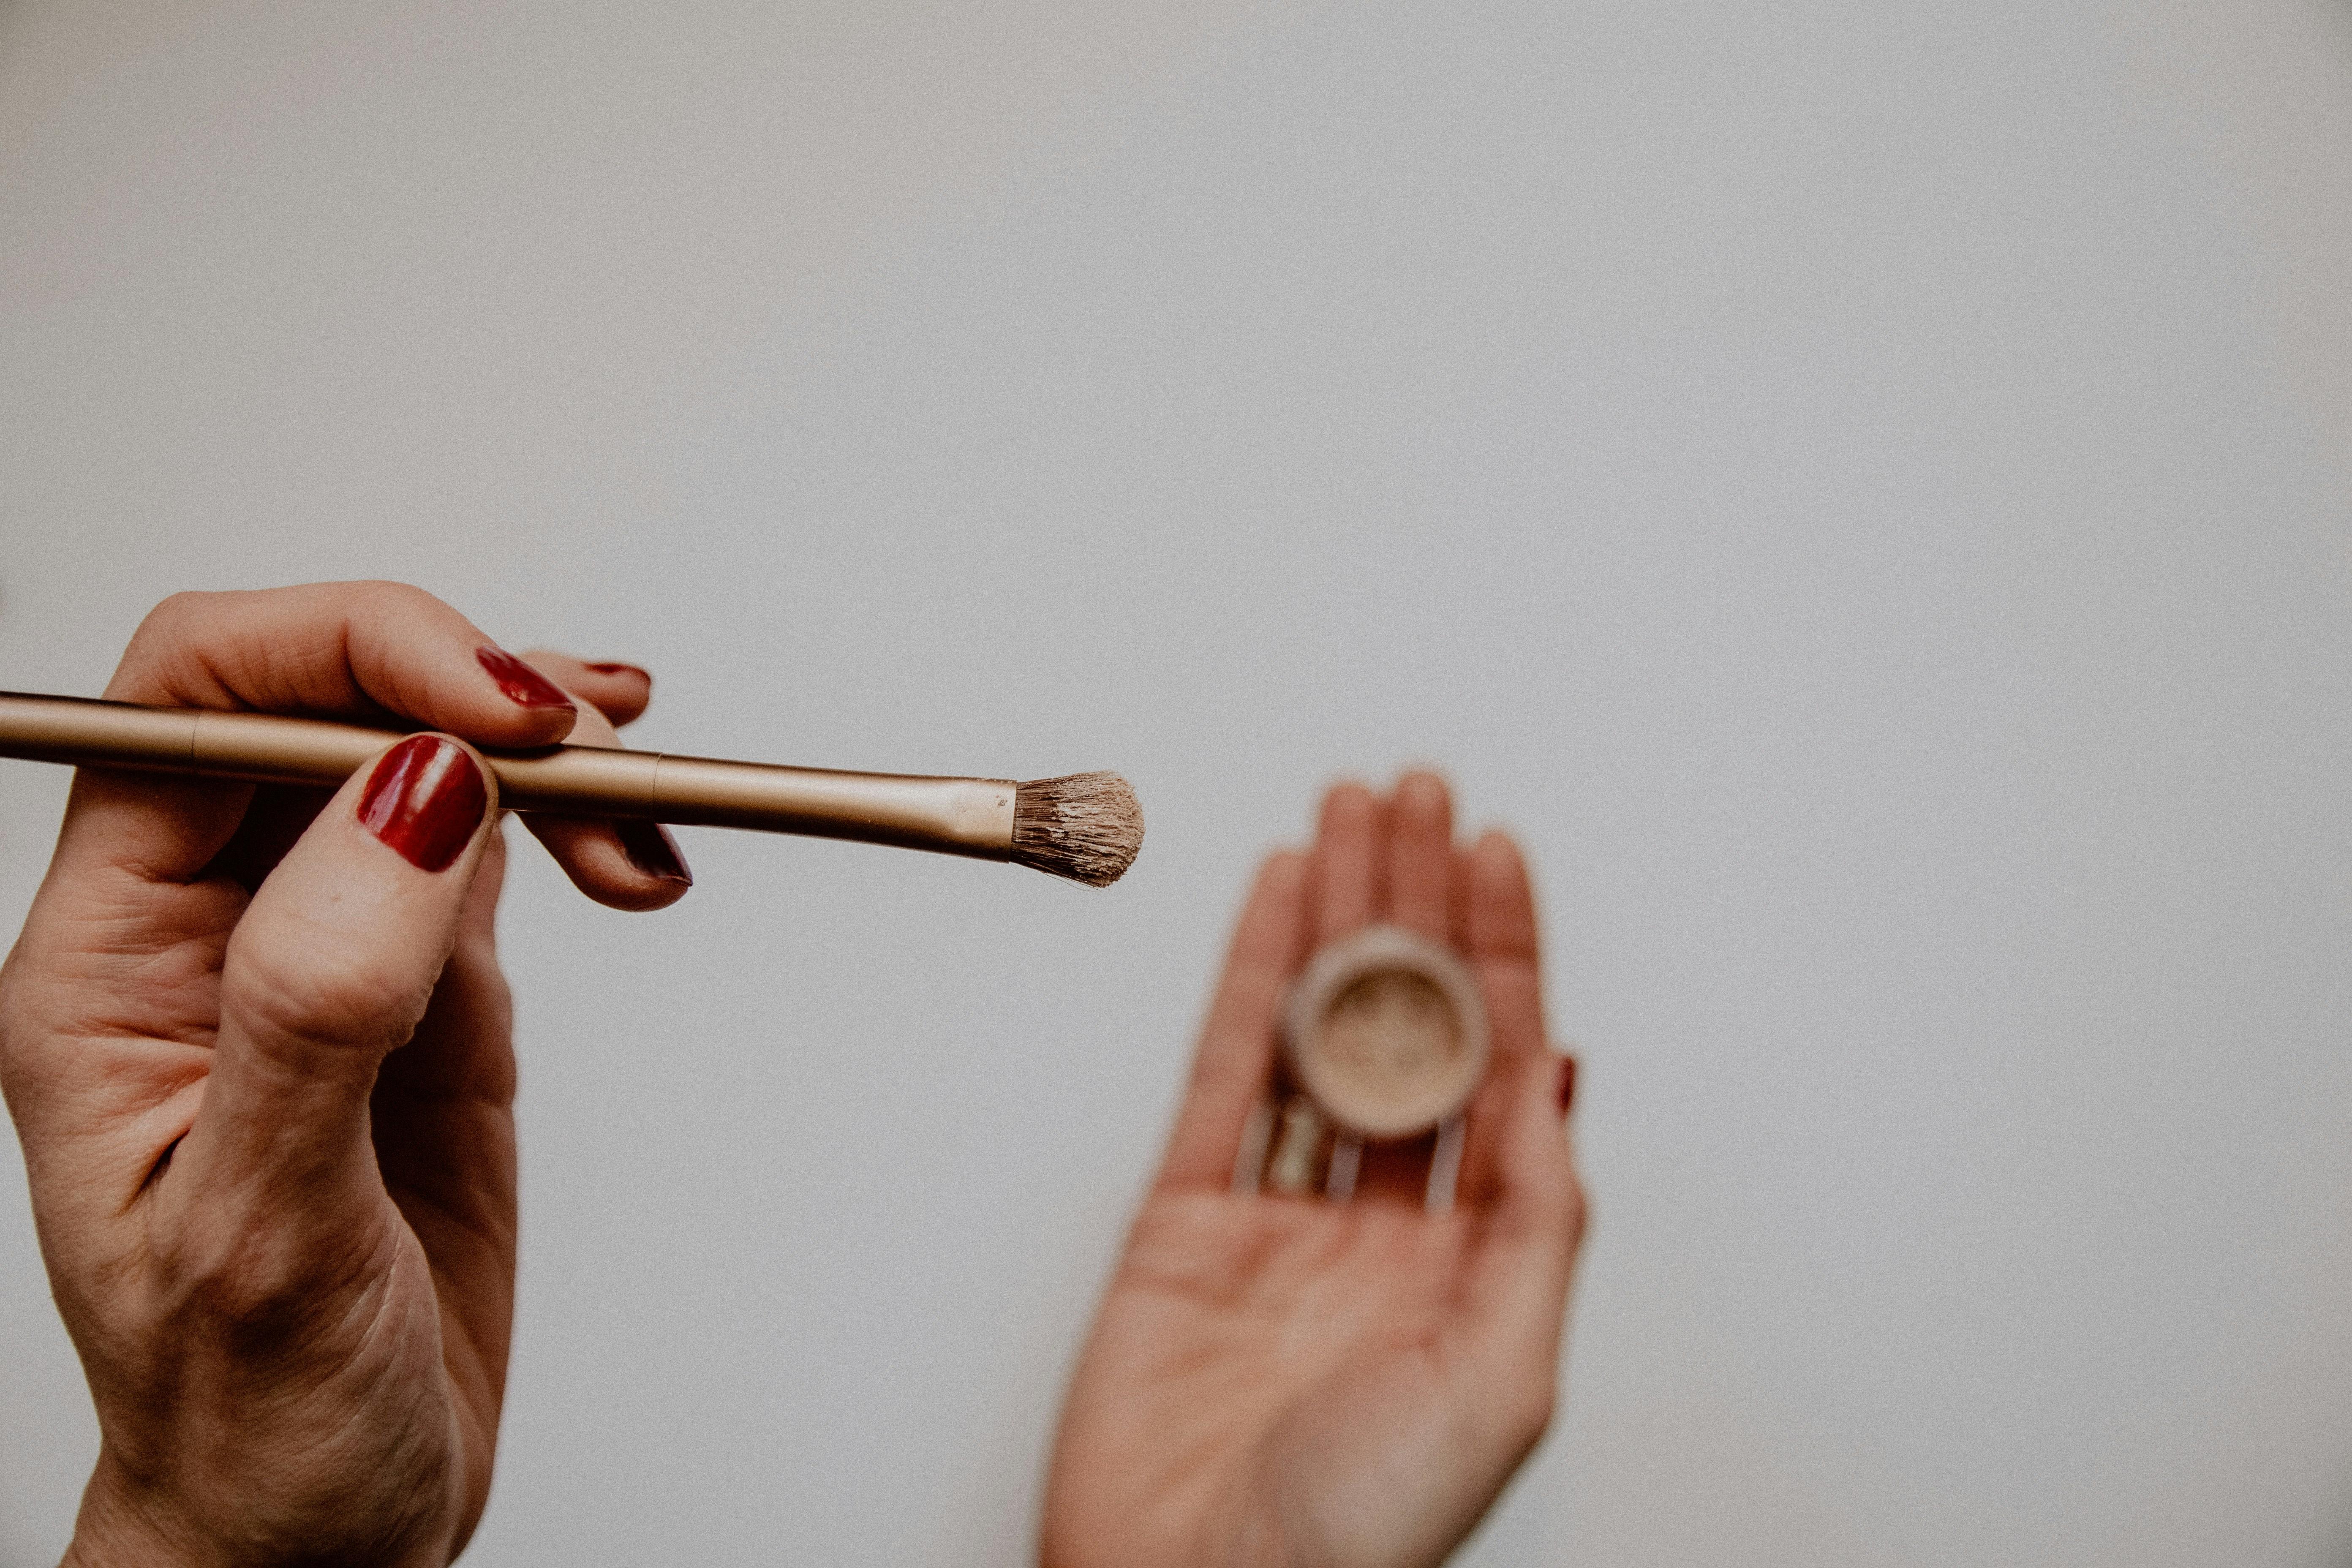
Achieving a beautifully sculpted makeup look requires the right combination of tools and techniques. Begin with a set of quality brushes, as these are essential for blending and precision. Consider using the following:
- Angled Contour Brush: Perfect for applying product under your cheekbones.
- Flat Contour Brush: Ideal for creating sharp lines and defining your jawline.
- Blending Sponge: Ensures a seamless finish by softening harsh lines.
Techniques are just as important as the tools. Start by identifying the natural shadows of your face, typically under the cheekbones, along the jawline, and the sides of the nose. Apply a matte contour product to these areas, using light, buildable strokes. Blend well to avoid any harsh lines. For highlighting, focus on the high points of your face like the tops of your cheekbones, the bridge of your nose, and the cupid’s bow. A creamy or powder highlighter can add the perfect amount of luminosity, completing your sculpted look.
Highlighting Essentials: Illuminating Your Features
Unleash the transformative power of light with the strategic application of highlighter. This essential step in your makeup routine accentuates your natural beauty by bringing attention to the high points of your face. Consider these key areas for application:
- Cupid’s Bow: A touch here can make your lips appear fuller and more defined.
- Cheekbones: Applying highlighter on the tops of your cheekbones adds a radiant lift, creating a sculpted look.
- Brow Bone: Enhance your eyes by applying a subtle glow just below your eyebrows.
- Nose Bridge: A light sweep along the bridge of your nose can give the illusion of a more refined profile.
- Inner Corners of the Eyes: Brighten your gaze with a small dab to open up your eyes and add a touch of sparkle.
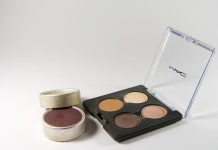
Choose a highlighter that complements your skin tone—champagne hues for fair skin, golden shades for medium tones, and bronze undertones for deeper complexions. Remember, the goal is to create a natural, luminous effect that catches the light beautifully, enhancing your features with effortless elegance.
Blending Secrets: Achieving a Seamless Finish
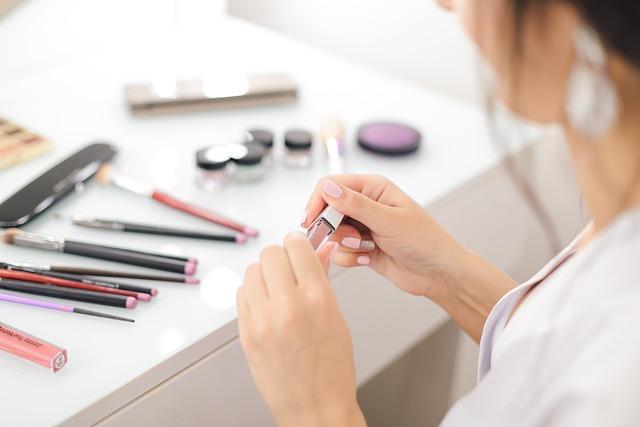
For a flawless contour and highlight, blending is key. Start by selecting the right tools—a damp beauty sponge or a soft, angled brush works wonders. Apply your contour product in the hollows of your cheeks, along the jawline, and on the sides of your nose. Use your chosen tool to gently blend the edges, ensuring there are no harsh lines. A circular motion can help diffuse the product seamlessly into your foundation.
When it comes to highlighting, focus on the high points of your face: the tops of your cheekbones, the bridge of your nose, and your cupid’s bow. Opt for a light-reflecting liquid or powder. Blend with a tapping motion, and remember, less is more. For a natural glow, build up the product gradually. Key tips for a polished finish include:
- Layer products gradually to avoid a cakey appearance.
- Use a setting spray to meld everything together.
- Blend in natural light to ensure even application.
Choosing the Right Shades: Tailoring to Your Skin Tone
Understanding your skin tone is crucial in selecting the perfect contour and highlight shades. This choice can make all the difference in achieving a naturally sculpted look. Here’s how you can tailor your shades:
- Fair Skin: Opt for a contour shade that’s light taupe or soft beige. Highlight with icy or champagne hues to enhance your features without overpowering them.
- Medium Skin: Choose a contour color with warm undertones, like caramel or soft bronze. For highlighting, go for golden or peach tones to add a radiant glow.
- Dark Skin: Deep, rich browns work beautifully for contouring. Highlight with bold, warm golds or copper shades to accentuate your natural warmth.
By selecting shades that complement your skin tone, you ensure a harmonious and flawless finish. Experiment with different products to find what works best for your unique complexion.
